1
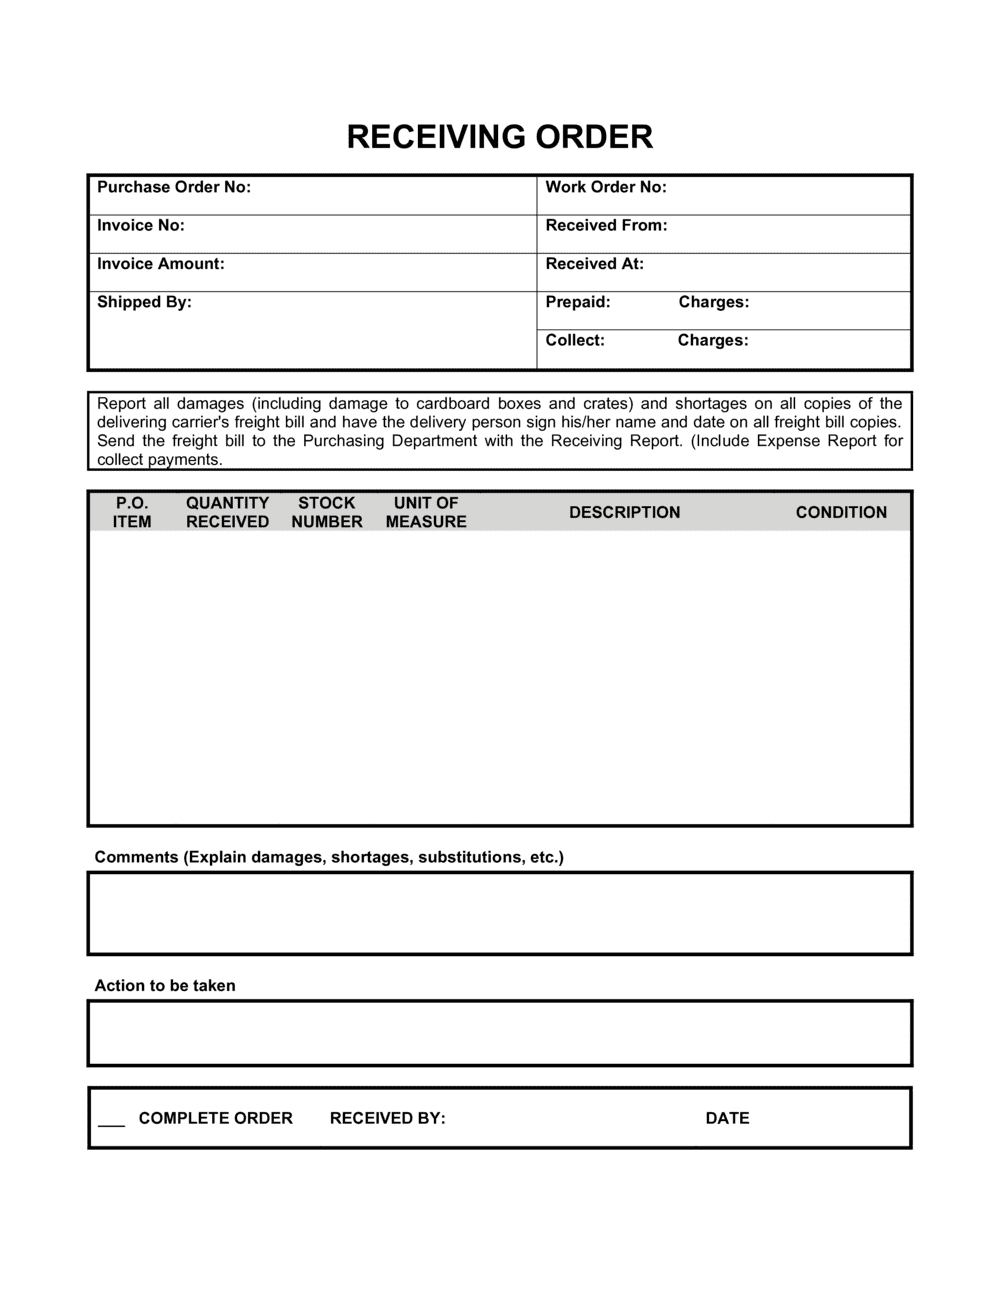
Enter buyer, supplier, and carrier details
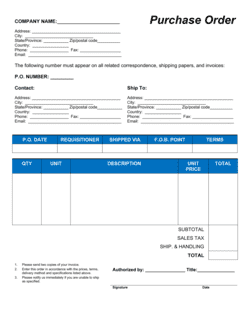
Fill in the full legal name of your organization, the supplier, and the carrier delivering the goods. Include the purchase order number, supplier invoice number if available, and the carrier's bill of lading number.
💡 Collect the bill of lading from the driver before beginning any inspection — this document contains the BOL number you need to reference for any future freight claim.
2
Record the delivery date, time, and receiving location
Enter the exact date and time the delivery arrived and the full address of the receiving facility. If your organization has multiple locations, include the location code or warehouse identifier.
💡 Recording time of delivery matters for perishable goods and for resolving disputes about whether goods were delivered within a contractual delivery window.
3
Pull the original purchase order and packing slip
Retrieve the original purchase order and the supplier's packing slip before counting goods. These are the two documents you reconcile against — the PO for what was authorized, the packing slip for what the supplier claims to have shipped.
💡 If the supplier packing slip and the PO quantities already disagree before you count a single unit, note the discrepancy on the receiving order before proceeding.
4
Count and inspect each line item individually
Work through each line item in the goods receipt table, counting actual units received and checking physical condition. Record ordered quantity, received quantity, and any condition issues for every line.
💡 Open at least a sample of sealed cartons for high-value or damage-prone items rather than accepting outer-packaging counts at face value.
5
Document all discrepancies in detail
For every quantity variance, wrong item, or damaged unit, complete the discrepancy section with item number, description, ordered quantity, received quantity, and the nature of the issue. Note the action required — credit, replacement, or freight claim.
💡 Photograph visible damage before the carrier departs. Photos timestamped before signature are the strongest supporting evidence for a freight claim.
6
Complete the acceptance or rejection statement
Check the appropriate acceptance status — full acceptance, conditional acceptance with noted exceptions, or rejection. Do not check full acceptance if discrepancies were recorded in the prior step.
💡 A conditional acceptance with clear notes protects your right to withhold payment for the non-conforming portion while releasing payment for accepted goods — this keeps the supplier relationship intact without conceding disputed amounts.
7
Note storage or quarantine instructions
If any received goods require special storage conditions or are pending a quality control inspection, note the storage instructions and the quarantine location before goods leave the receiving dock.
💡 Print a quarantine label from your inventory system and attach it physically to the pallet or bin at the time of receiving — do not rely on a note in the receiving order alone to prevent the goods from entering active stock.
8
Sign, date, and distribute copies
Have the authorized receiver sign and date the completed receiving order, then distribute copies to accounts payable (for three-way matching), the purchasing team (to close the PO line), and the warehouse management system or filing system.
💡 Scan and upload the signed receiving order to your document management system on the same day — paper-only records left on a dock desk are frequently lost before they reach AP.