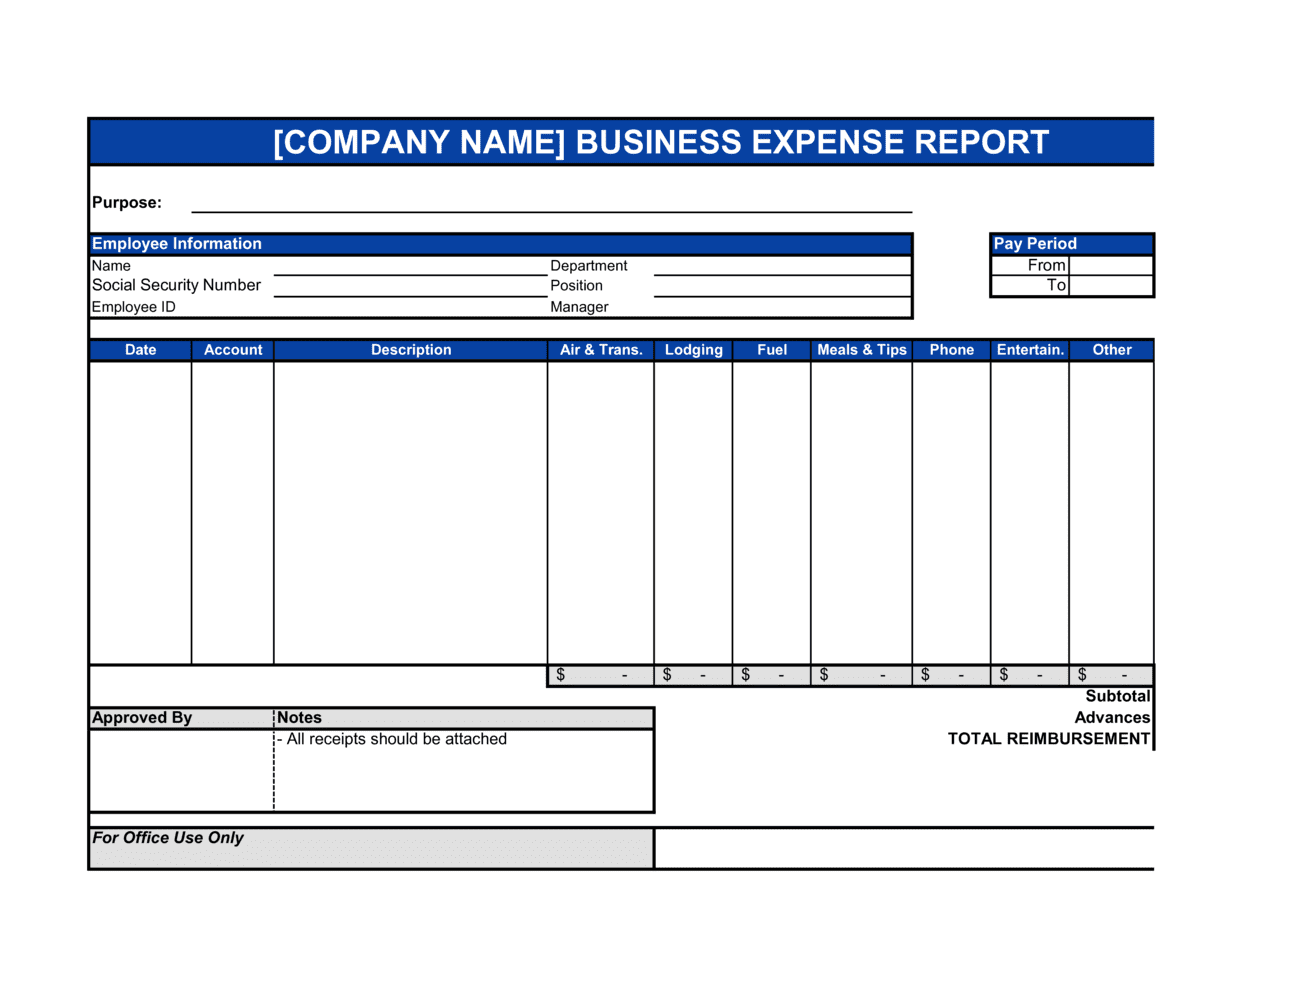
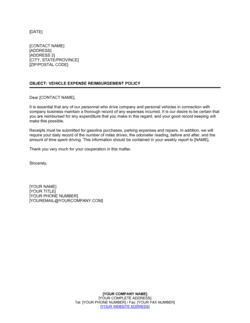
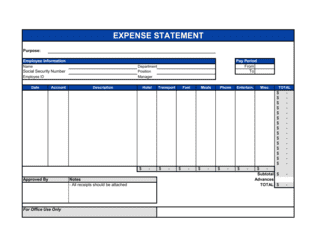
- Reimbursable Expense
- A business cost paid out-of-pocket by an employee or owner that the company agrees to pay back, typically within a set number of days after submission.
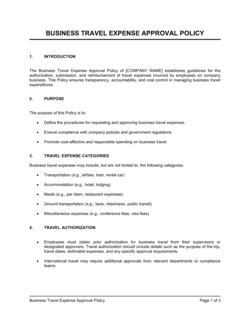
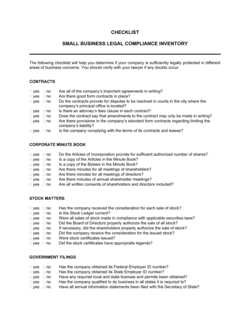
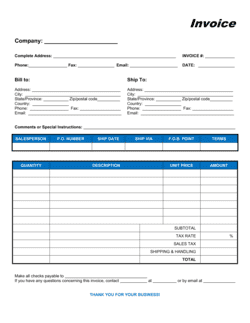
- Expense Category
- A standardized label — such as travel, meals, office supplies, or client entertainment — used to group and report spending by type.
- Per Diem
- A fixed daily allowance for meals and incidental expenses while traveling for business, set either by company policy or the IRS standard rate.
- Accountable Plan
- An IRS-defined reimbursement arrangement requiring employees to have a business purpose for expenses, submit receipts, and return any excess advance — ensuring reimbursements are not treated as taxable income.
- Non-Accountable Plan
- A reimbursement approach that does not require substantiation or return of excess funds, meaning payments are treated as taxable compensation to the employee.
- Receipt Substantiation
- The requirement to attach original or digital receipts documenting the amount, date, vendor, and business purpose of each expense.
- Cost Center
- A department, project code, or team identifier used to allocate expenses to the correct budget line during accounting reconciliation.
- Mileage Rate
- The IRS standard rate — updated annually — used to calculate the deductible cost of using a personal vehicle for business travel, expressed in cents per mile.
- General Ledger (GL) Code
- A numeric or alphanumeric account code from the company's chart of accounts used to post each expense to the correct accounting category.
- Approval Workflow
- The defined chain of reviewers — typically direct manager, then finance — who must authorize an expense report before reimbursement is processed.