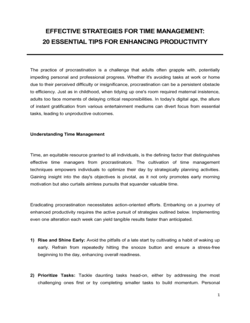
1
Open a dedicated business bank account before entering any data
Set up a separate checking account and, if needed, a business credit card. Record the account details in the separation protocol section. All future income and expenses flow through these accounts only.
💡 Many online banks (Relay, Mercury, Novo) offer free business checking with no minimum balance — ideal for side businesses with irregular revenue.
2
List every income source in the tracking framework
Enter each client, platform, or product category as a row. Record the date, payer, amount, and a brief description for every transaction as it occurs — not in batches at month end.
💡 Set a 5-minute recurring calendar block each Friday to log that week's transactions. Weekly entry takes far less time than monthly catch-up.
3
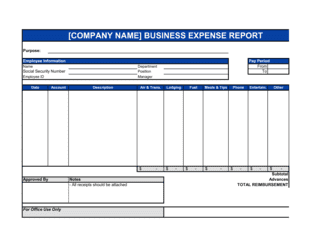
Assign every expense to a category
Review your bank and card statements and categorize each expense using the standard categories in the template. For any mixed-use item, apply your documented allocation percentage and note it.
💡 Keep the business purpose note brief but specific — 'Canva Pro — client social media graphics' rather than just 'software.' This is what an auditor will look for.
4
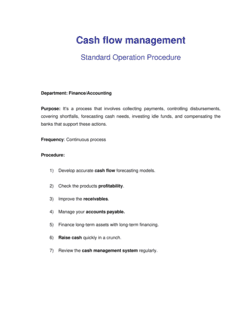
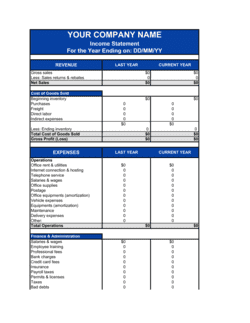
Complete the monthly profit and loss summary
Total income and expenses for the month, subtract to find net profit, and calculate your profit margin. Compare month-over-month to spot trends.
💡 If net profit is declining while revenue is flat, sort expenses by category to find the line item growing fastest — that is usually where the problem is.
5
Run the service profitability analysis quarterly
For each service line or product, enter total revenue, direct costs, and time spent. Calculate the effective hourly rate for each. Flag any activity below your minimum acceptable rate.
💡 Your minimum acceptable hourly rate should be at least your target annual earnings divided by 1,040 hours (half a full-time year) — not your primary job's hourly rate.
6
Update the tax preparation checklist before each estimated tax due date
In the US, estimated taxes are due in April, June, September, and January. Review the checklist 3–4 weeks before each due date, confirm all income and deductions are captured, and calculate the quarterly payment.
💡 Set aside 25–30% of each net payment received into a separate savings account designated for taxes. Transfer it the same day you record the income.
7
File and label every supporting document
For each recorded transaction, attach or link the supporting document — invoice, receipt, or statement — in the storage location specified in the retention policy section.
💡 A simple folder structure works: one folder per year, subfolders for Income, Expenses by category, and Tax Returns. Consistent naming (YYYY-MM-DD_Vendor_Amount) makes retrieval instant.
8
Review and reset the full record at year end
At December 31 (or your fiscal year end), archive the completed year's records, confirm all amounts match your bank statements, and open a fresh copy of the template for the new year.
💡 Share the year-end summary with your accountant in early January — before the busy season — to get faster service and lower preparation fees.