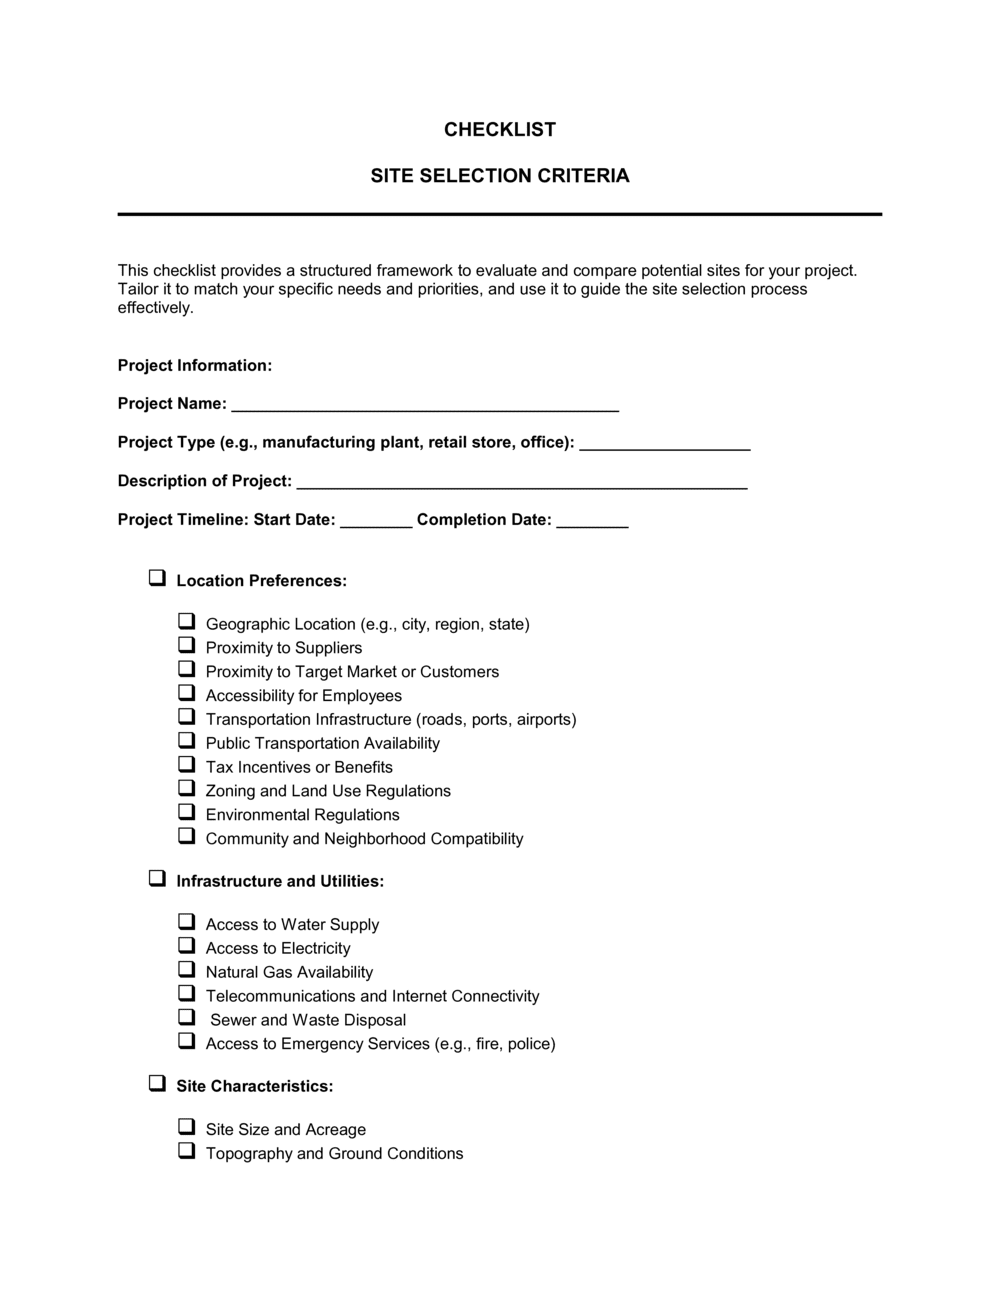
1
Complete a separate checklist for each candidate site
Print or duplicate the template once per location under consideration. Fill in the site identification block with the address, property type, landlord contact, and assessment date before visiting the site.
💡 Assign each site a code (Site A, Site B, Site C) at the top so you can reference them consistently in stakeholder discussions without revealing addresses prematurely.
2
Verify zoning and permitted use before visiting
Call or email the local planning or zoning department to confirm the current classification and that your intended business activity is permitted as of right. Note whether a variance or conditional use permit is required and the typical timeline.
💡 Zoning lookups on municipal GIS portals are a quick starting point, but always confirm verbally — online data can lag rezoning decisions by 6–12 months.
3
Pull trade-area demographic data
Use a source such as the US Census Bureau, Esri Business Analyst, or a free tool like SitesUSA to pull population, income, and daytime population data for the primary trade area radius relevant to your business type.
💡 For most retail businesses, a 1-mile, 3-mile, and 5-mile ring gives enough granularity. For destination businesses, extend to 10 miles.
4
Conduct a drive-by and on-site inspection
Visit the site at the time of day your business would peak — not just at a convenient time for the landlord's tour. Assess visibility at driving speed, count parking spaces, walk the ingress and egress routes, and photograph anything that needs follow-up.
💡 Visit on both a weekday and a weekend if your target customer mix differs across those days.
5
Calculate total occupancy cost, not just base rent
Add base rent, NNN charges (estimated property tax, insurance, and CAM), estimated utilities, and any required buildout amortized over the lease term. Enter the monthly total in the lease economics field.
💡 Ask the landlord for last year's actual NNN reconciliation statement — projected NNN estimates are routinely 15–25% below actual charges in the first year.
6
Score each field and calculate the weighted total
Assign numerical scores (e.g., 1–5) to each evaluation category. Multiply each score by the weight you assigned that category, then sum to get the site's total weighted score.
💡 Set your minimum acceptable score threshold before you start evaluating sites — deciding the cutoff in advance prevents the best available site from winning by default regardless of its absolute quality.
7
Compare scores and document your recommendation
Place all sites' summary scores side by side in the final recommendation field. Note any deal-breaker flags — zoning issues, insufficient parking, or unacceptable buildout costs — that override a high score.
💡 A written recommendation with a clear rationale protects you in partnership or franchisor approval processes where the decision will be reviewed by others.