1
Review the original purchase agreement for assignment restrictions
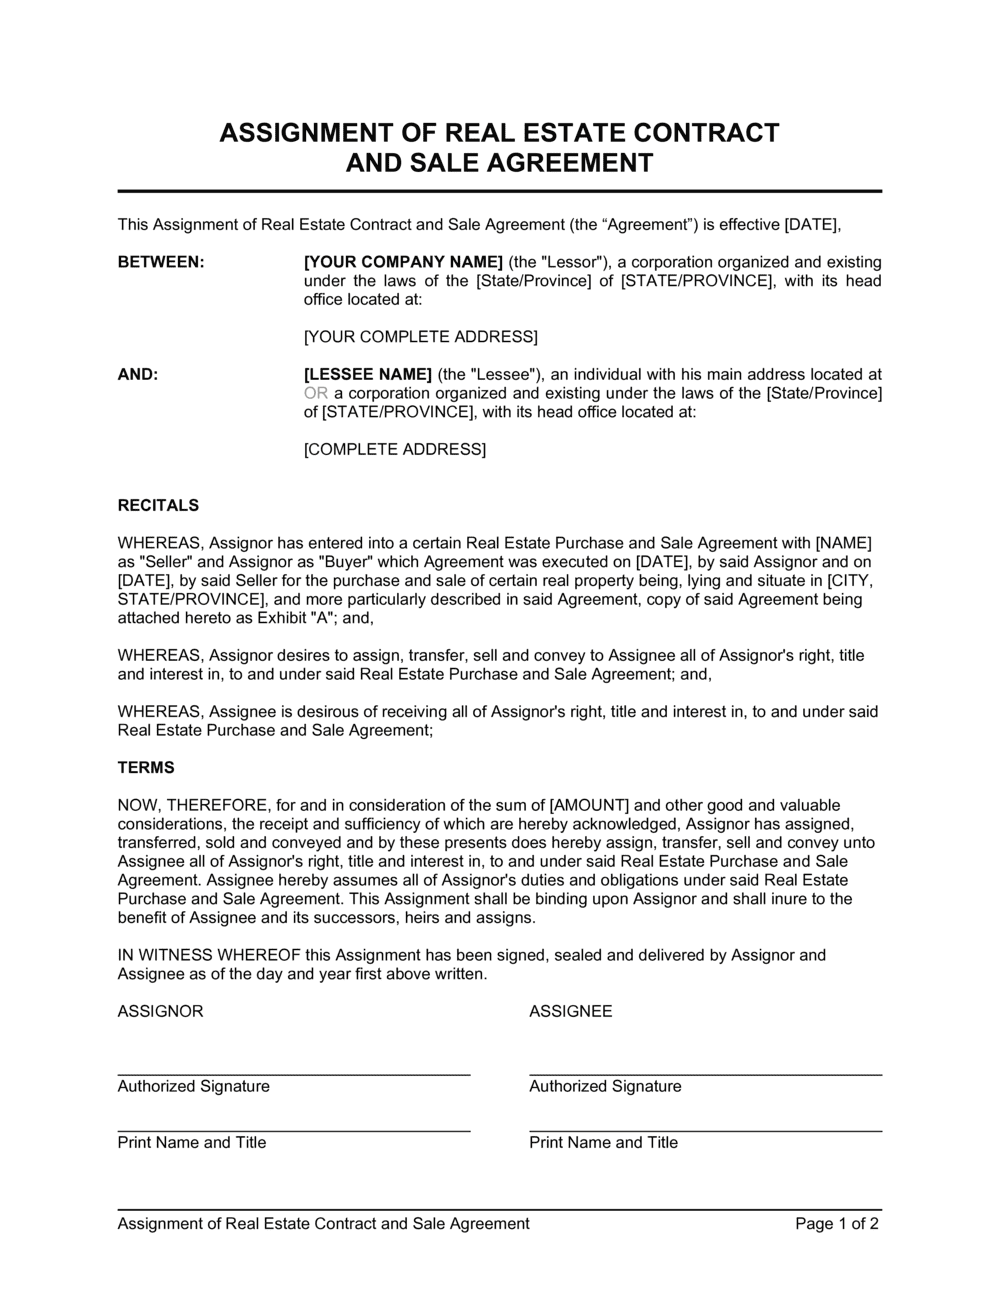
Before drafting the assignment, locate any non-assignment clause in the original purchase contract. If one exists, obtain the seller's written consent before proceeding. Note the closing date, purchase price, earnest money amount, and any contingencies still open.
💡 Request a copy of the title commitment at this stage — a title search may reveal encumbrances that affect the assignee's willingness to proceed.
2
Identify and verify both parties
Enter the assignor's full legal name exactly as it appears on the original purchase agreement. Confirm whether the assignee is an individual or an entity — if an entity, use the full registered name and include the state of formation.
💡 Mismatched names between the assignment and the purchase agreement create a title gap that can delay or kill the closing.
3
Describe the property with full legal description
Include the street address and the complete legal description from the original contract or title commitment. Do not rely on the address alone — copy the legal description verbatim.
💡 Paste the legal description directly from the county recorder or title commitment to avoid transcription errors.
4
Set the assignment fee, payment date, and method
Enter the exact dollar amount of the assignment fee, specify whether it is due at signing or at closing, and state the payment method — wire transfer, cashier's check, or escrow holdback. Include the refund conditions explicitly.
💡 If the assignee is paying the fee through escrow at closing, confirm with the title company that they will handle the disbursement before execution — not every title company will accommodate this.
5
Address assumption of obligations and assignor release
Confirm whether the assignor is fully released from obligations to the seller after the assignment is executed, or whether they remain a guarantor if the assignee defaults. Document this clearly in the assumption clause.
💡 Most sellers will not release the assignor unless the assignee is creditworthy or posts additional earnest money — negotiate this before signing.
6
Attach the original purchase agreement as an exhibit
Attach a full, signed copy of the original purchase and sale agreement as Exhibit B. Initial each page of the exhibit at signing. Both parties should confirm receipt of the complete exhibit set.
💡 A missing exhibit is the most common reason assignment agreements fail title review. Make attachment and acknowledgment of exhibits a condition to closing.
7
Obtain seller consent if required and attach as exhibit
If the purchase agreement contains a non-assignment clause, obtain a written consent letter or addendum from the seller acknowledging the assignment. Attach it as Exhibit A and incorporate it by reference in the assignment agreement.
💡 Get seller consent before marketing the contract to potential assignees — a deal that falls apart at the consent stage after a buyer has been found damages your credibility as a wholesaler.
8
Execute, deliver to title, and confirm closing timeline
Both parties sign and date the agreement. Deliver a fully executed copy to the title or escrow company immediately, along with the original purchase agreement and seller consent. Confirm the closing date is still achievable and flag any extension needs at this point.
💡 Send execution copies to all parties — assignor, assignee, and the title company — on the same day. Delays in delivering the executed assignment are a leading cause of closing day surprises.