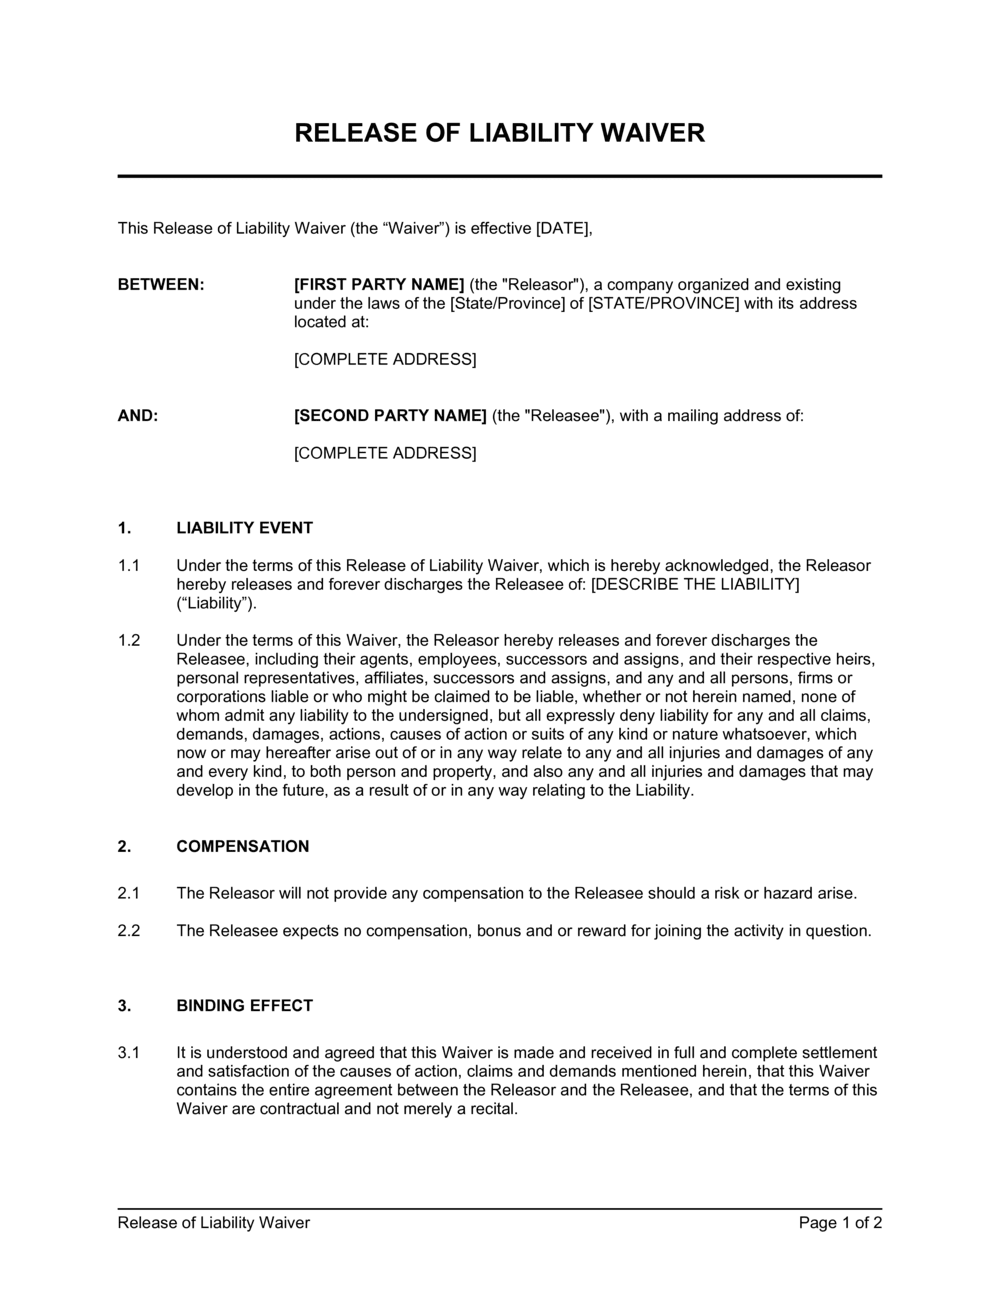
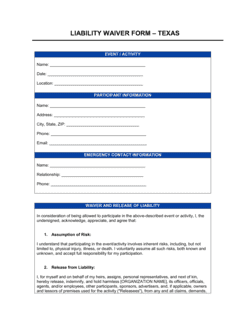
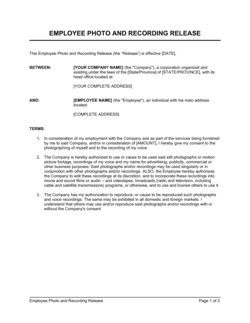
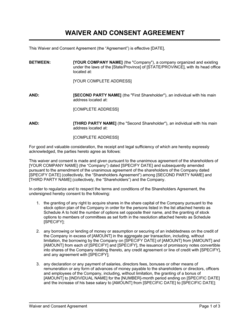
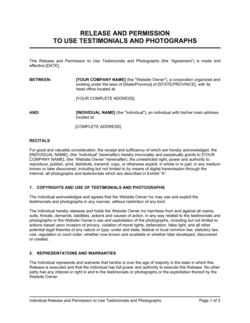
1
Identify both parties with their full legal names
Enter the participant's full legal name as the releasor and your registered business entity's full legal name as the releasee. Include the entity type and state or province of incorporation.
💡 Avoid using 'doing business as' names as the sole identifier — if you are sued, the entity named on the waiver must match the entity on your corporate registration.
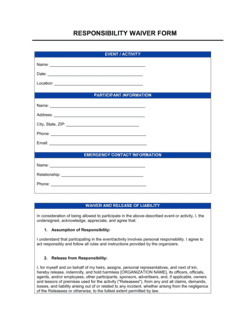
2
Describe the specific activity and its inherent risks
Replace the generic activity placeholder with a precise description of what the participant will be doing. Then list the actual physical, environmental, and equipment-related risks specific to that activity.
💡 A waiver that names 'rock climbing — including falls, equipment failure, and weather exposure' is more defensible than one that says 'outdoor activities.' Specificity signals genuine informed consent.
3
Confirm the release clause explicitly names negligence
Review the release clause to ensure it expressly covers claims arising from the releasee's negligence. Add 'including claims arising from the negligence of Releasee' if not already present.
💡 This single phrase is the most litigated element of any waiver. Confirm it is there before sending the document for signature.
4
Set the indemnification scope
Define whether indemnification covers only first-party claims (the participant suing you) or also third-party claims. For most business contexts, include both, plus attorneys' fees.
💡 If your activity involves minors or families, note that indemnification obligations signed by a parent on behalf of a child may be unenforceable in several states — consult a local attorney.
5
Complete the medical authorization details
Name the activity, confirm the financial responsibility language assigns medical costs to the participant, and add any specific medical instructions relevant to your activity (e.g., epipen location for wilderness activities).
💡 Keep a copy of each signed waiver on-site or accessible digitally during the activity so first responders can confirm consent and access emergency contact information.
6
Select the governing law and jurisdiction
Enter the state or province where the activity takes place as the governing law — not simply where your business is incorporated. Courts apply the law of the activity's location for consumer-facing waivers in most jurisdictions.
💡 If you operate in multiple states, consider creating jurisdiction-specific versions of the waiver rather than using a single cross-state template.
7
Add signature blocks with date and witness fields
Include a signature line, printed name line, and date field for the participant. Add a witness signature line if your jurisdiction or insurer requires it. For minors, add a parental consent block.
💡 Collect signatures digitally using a time-stamped e-signature tool — this creates an audit trail showing when and on which device the waiver was signed, which strengthens enforceability.
8
Deliver the waiver in advance — not at the gate
Send the waiver at least 24 hours before the activity so participants have a genuine opportunity to read, question, or decline. Document the delivery timestamp.
💡 Courts in several jurisdictions have voided waivers presented as a condition of entry moments before an activity — advance delivery is your strongest defense against an unconscionability challenge.