1
Identify the parties and describe the asset precisely
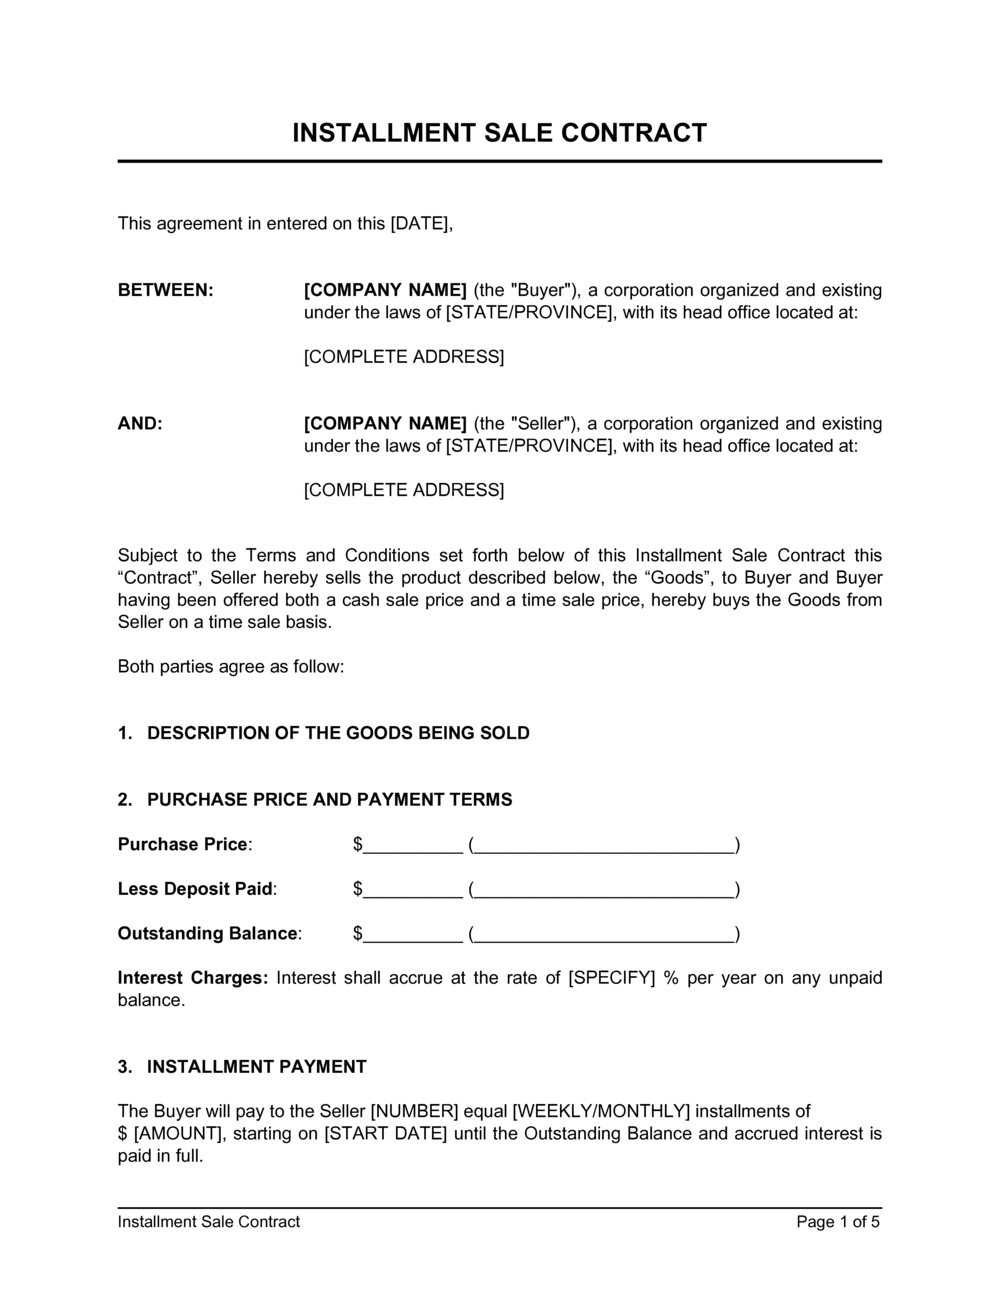
Enter both parties' full legal names and entity types. For the asset, include every identifier available — serial number, VIN, make, model, year, or legal property description. Attach photographs or a condition report as a schedule.
💡 For vehicles, record the odometer reading at signing in the asset description — disputes about condition almost always reference mileage at time of sale.
2
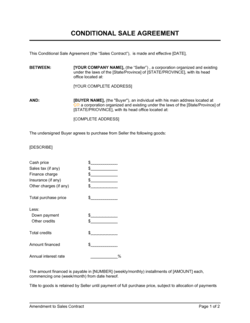
Set the purchase price, down payment, and financed balance
Enter the total agreed purchase price, the down payment collected at signing, and the resulting balance to be financed. Confirm these three numbers add up correctly before drafting the payment schedule.
💡 Document how the purchase price was determined — a written valuation, appraisal reference, or comparable sale — to defend against later claims that the price was unfair.
3
Build and attach the amortization schedule
Use the interest rate and term to generate a full amortization table showing each payment date, the principal and interest components of each payment, and the remaining balance. Attach it as Schedule A and reference it in the payment clause.
💡 Use an online amortization calculator and round installment amounts to the nearest dollar — a fractional cent rounding difference compounded over 60 payments creates a payoff shortfall that buyers dispute.
4
Draft the retention of title and transfer mechanics
Confirm the seller will retain legal title until final payment and describe exactly what documents will be transferred — certificate of title, bill of sale, or deed. State the timeline for delivery after final payment.
💡 Hold the signed title transfer document in escrow with a neutral third party — releasing it automatically upon final payment removes the risk that a seller becomes unreachable after the last check clears.
5
Set insurance, maintenance, and use restrictions
Specify the minimum insurance coverage amount and type, confirm the seller is named as loss payee, and state any restrictions on where the asset may be used, relocated, or modified during the installment period.
💡 Ask for a certificate of insurance naming you as loss payee before releasing the asset — do not rely on the buyer's verbal confirmation that coverage is in place.
6
Define default triggers, cure periods, and remedies
List every default event — missed payment, lapsed insurance, unauthorized modification — and set a cure period of at least 20 days. Confirm the remedies section references applicable law for repossession to avoid an unenforceable self-help clause.
💡 Check the statutory cure period for the asset type and jurisdiction before finalizing — for consumer transactions in several US states, contractual cure periods shorter than the statutory minimum are void.
7
Have both parties sign before the asset changes hands
Both seller and buyer must sign the contract before or at the moment the asset is delivered. Do not release the asset on a handshake with a promise to sign later — an unsigned agreement is unenforceable in most jurisdictions.
💡 Use a witness or notary for high-value transactions — particularly real property installment contracts, which typically require notarization to be recorded.
8
Register the security interest if required
For personal property, file a UCC-1 financing statement (US), PPSA registration (Canada), or equivalent to perfect the seller's security interest and protect priority against third-party creditors. For real property, record the contract with the county recorder or land registry.
💡 A title retention clause alone does not protect the seller against a bona fide purchaser who buys from the buyer and has no notice of the seller's interest — registration creates constructive notice and defeats such claims.