1
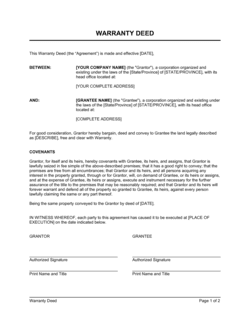
Identify the warrantor's legal entity and address
Enter the full registered legal name and physical address of the entity making the warranty — not a brand name or DBA. This is the party consumers will contact and potentially sue if a claim is denied.
💡 Confirm the entity name matches exactly what appears on your product's purchase receipt and corporate registration to avoid mismatched-party defenses in a dispute.
2
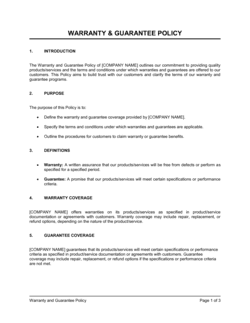
Define the covered product precisely
List the product name, model number, and SKU if applicable. If multiple models share the same warranty, list them all or reference a product family name that is unambiguous.
💡 Avoid catch-all language like 'all products sold by [COMPANY]' — this creates unintended coverage for products you intend to exclude or warrant differently.
3
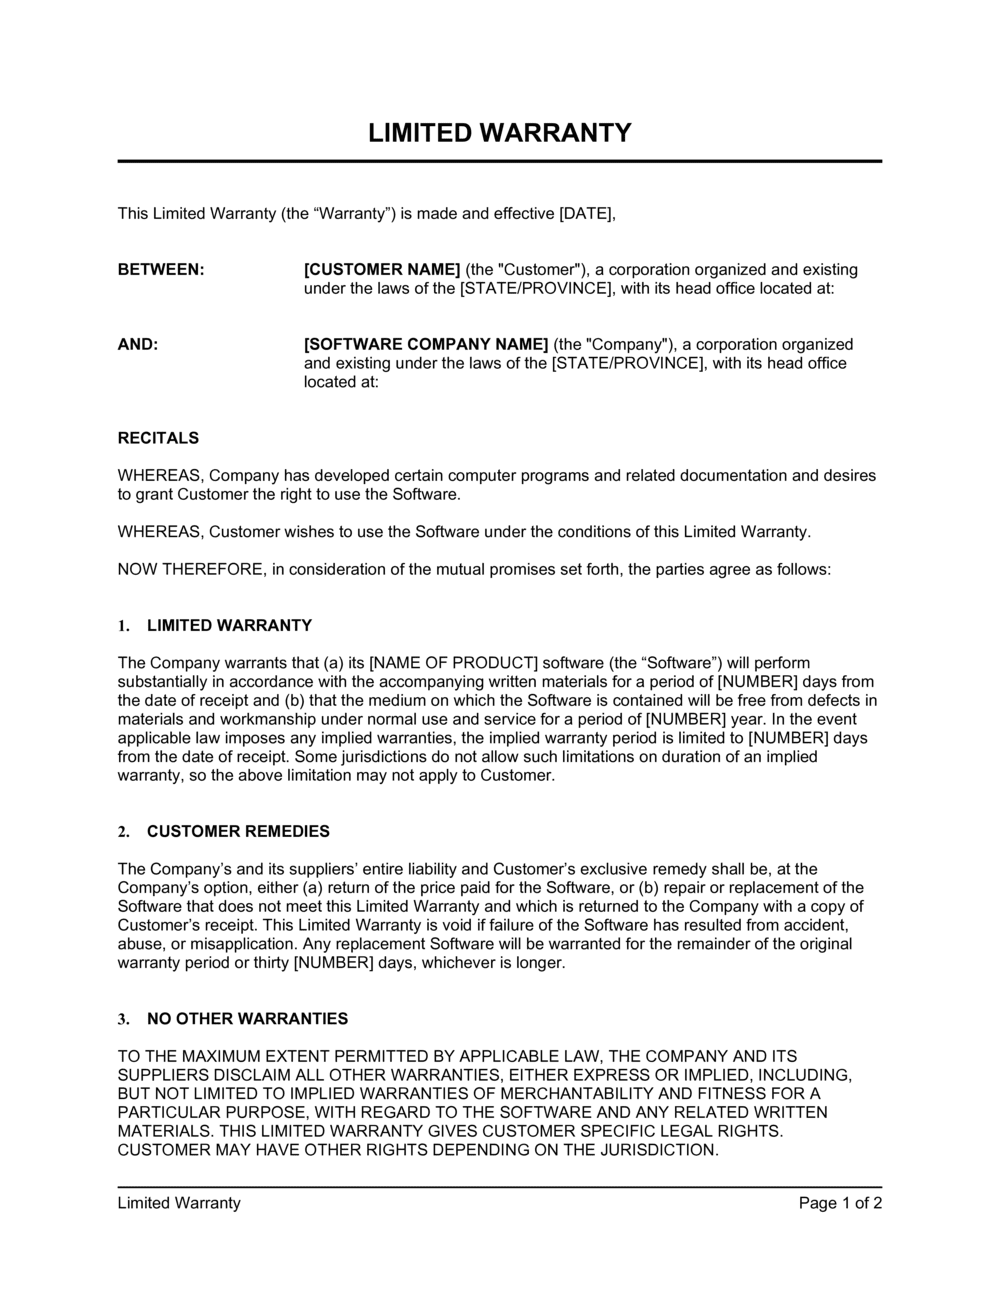
Set the warranty period and its start trigger
Enter the duration (e.g., one year, two years) and specify whether coverage begins on the date of purchase, date of delivery, or date of activation. For products with consumable components, add a shorter sub-period for those parts.
💡 Using 'date of original purchase as shown on proof of purchase' is the cleanest start trigger — it puts the burden on the consumer to retain the receipt and creates a verifiable date.
4
Draft the exclusions list with specific examples
List every category of damage or failure you intend to exclude: misuse, accidental damage, unauthorized modification, incompatible accessories, use outside rated specifications, and normal wear and tear. Be as concrete as possible.
💡 Review your actual warranty claims history or customer-service logs for the most common denial reasons — build your exclusions list from real-world patterns, not generic legal boilerplate.
5
State the available remedy and who selects it
Choose from repair, replacement, or refund — or allow all three with the warrantor electing. Make clear whether replacement units may be refurbished and whether shipping costs are covered.
💡 Preserve flexibility by allowing all three remedies at your election. A repair-only warranty becomes impossible to fulfill when parts are discontinued.
6
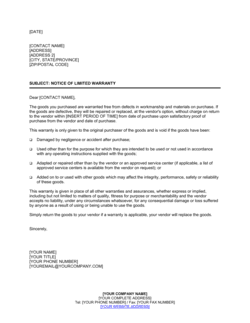
Describe the claim procedure step by step
Explain how a buyer initiates a claim — phone, email, or web portal — what documentation they must provide, and how the product is returned or inspected. Include estimated turnaround times if your process supports them.
💡 Publish the claim procedure on your website in addition to including it in the document. Magnuson-Moss requires that the procedure be available to buyers before purchase for products over $15.
7
Review limitation-of-liability and implied-warranty language for jurisdiction
Confirm that the disclaimer and liability cap comply with the law of every jurisdiction where you sell. Some US states (e.g., Massachusetts, Mississippi) do not permit limiting implied-warranty duration; the EU and UK prohibit disclaiming statutory consumer rights entirely.
💡 Add a savings clause: 'Some states/countries do not allow limitations on implied warranties or exclusion of consequential damages, so the above limitations may not apply to you.' This is required under Magnuson-Moss for consumer-product warranties.
8
Execute and distribute the warranty
Have an authorized officer sign the warranty document, attach it to product packaging or ship it in the box, and publish the full text on your website before the product goes on sale.
💡 For products sold on third-party marketplaces (Amazon, Walmart Marketplace), upload the warranty document to the product listing — marketplace policies and Magnuson-Moss both require pre-sale availability.