1
Gather the purchase order, invoice, and delivery documents
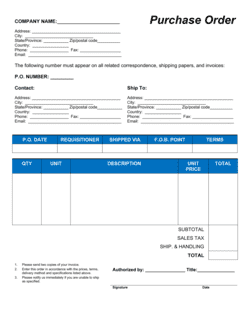
Before completing the template, collect the original purchase order, the seller's invoice, the packing slip or bill of lading, and any quality specification sheets referenced in the contract. These documents provide the conformity standard against which the rejection is measured.
💡 Attach copies of the PO and any approved samples or specification sheets to the rejection notice — the seller cannot dispute the standard if it is included in the notice itself.
2
Conduct and document the inspection
Inspect the shipment promptly after delivery and record the defects with specificity — unit count, defect type, measurements or photos, and the name of the inspector. Complete this before filling in the defect description clause.
💡 Photograph defective units next to conforming units from the same shipment. Visual evidence is the single most effective way to resolve a rejection dispute without litigation.
3
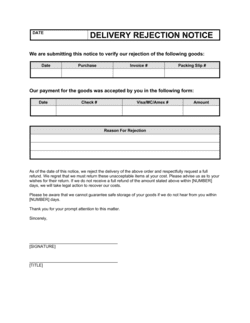
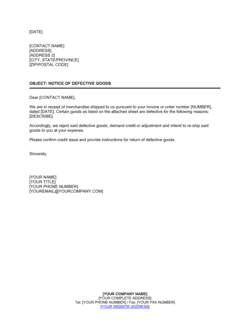
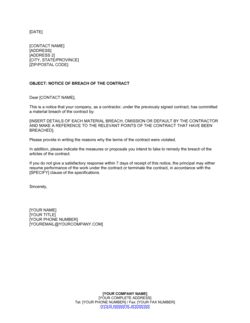
Enter the buyer and seller details and transaction references
Fill in both parties' full legal names and addresses. Enter the PO number, invoice number, delivery date, carrier name, and tracking number in the parties and transaction identification clause.
💡 Use the seller's registered legal entity name — not a trade name — to ensure the notice is directed to the correct contracting party.
4
Specify the non-conforming quantity and defect description
In the non-conforming goods clause, state the exact number of rejected units and describe each defect type with reference to the contractual specification it violates. List defects separately if there are multiple types.
💡 Tie every defect description to a specific clause or exhibit in the purchase order or specification sheet — e.g., 'Clause 4.2 of the Technical Specification requires tensile strength of at least [X] MPa; tested units measured [Y] MPa.'
5
State the accepted quantity and payment amount
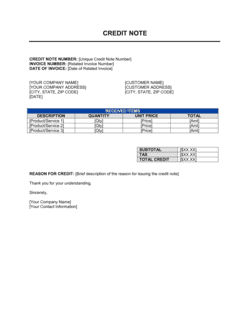
Calculate the accepted quantity (total delivered minus rejected units), multiply by the unit price, and enter the resulting payment amount in the partial acceptance clause. Confirm payment will be made on the original terms.
💡 If you are withholding the full invoice payment pending resolution of the rejection, note that explicitly — this prevents the seller from claiming late payment on the conforming portion.
6
Select and complete the remedy clause
Choose the remedy that applies — return and credit, replacement, or price allowance — and delete the alternatives. Set a specific response deadline, typically 5–10 business days for domestic suppliers and 10–15 for international.
💡 For perishable or time-sensitive goods, set a shorter deadline and add a clause stating the goods will be disposed of at the seller's cost if not collected within the stated period.
7
Review governing law and notice method
Check the governing law clause against the dispute resolution terms in your underlying sales agreement. Confirm the notice delivery method matches what the contract requires — email, courier, or registered mail.
💡 Send the notice by both email and tracked courier simultaneously to create a clear record of the delivery date, which starts the clock on the seller's response deadline.
8
Sign and dispatch the notice promptly
Have an authorized signatory — the procurement manager, operations director, or a company officer — sign the notice. Dispatch it immediately; delay can be construed as acceptance in most jurisdictions.
💡 In UCC jurisdictions, 'reasonable time' for rejection is typically measured in days, not weeks, from delivery. Never wait more than 5 business days to issue a rejection notice without documenting the reason for the delay.