1
Fill in host and company details
Enter the full legal or trading name of the hosting organization, the signatory's name and title, and the company's address. Ensure these match your official letterhead.
💡 Use your company's branded letterhead as the template header — this alone dramatically increases the perceived formality and professionalism of the invitation.
2
Name the recipient and personalize the salutation
Address the invitation to the specific named individual using their correct title (Mr., Ms., Dr., etc.) and full name. For bulk sends, use mail-merge rather than leaving generic placeholders.
💡 For VIP guests such as major clients or board members, send individually signed physical invitations rather than digital copies — the format signals the level of priority you assign to their attendance.
3
Describe the event and its purpose
Write two to three sentences explaining what the event is celebrating or marking. Be specific — '25 years in business' is more compelling than 'a special occasion'.
💡 Tie the event purpose to something meaningful to the recipient — if it is a client appreciation event, say so explicitly. Guests respond better when they understand why they specifically have been invited.
4
Enter the full event logistics
Complete the date, start and end times, venue name, full street address, room or floor details, and parking or transit instructions. Verify all details against the confirmed venue booking before sending.
💡 Include a map link or QR code linking to the venue's location for digital invitations — reducing navigation friction increases attendance.
5
Set the RSVP deadline and contact
Choose an RSVP deadline at least ten business days before the event. Enter the coordinator's direct email and phone number. If using an online form, include the URL.
💡 Send a reminder to non-responders three days before the RSVP deadline — a single follow-up typically converts 20–30% of non-responders into confirmations.
6
State the dress code and guest policy clearly
Choose one of the standard dress code categories (black tie, cocktail, business formal, smart casual) and add one clarifying sentence if needed. State whether the recipient may bring a guest and how to register them.
💡 If the event has a theme that affects attire, include one concrete example of what guests could wear — this removes uncertainty and increases theme participation.
7
Include conditions of attendance
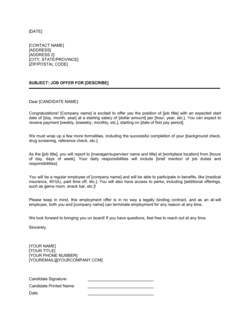
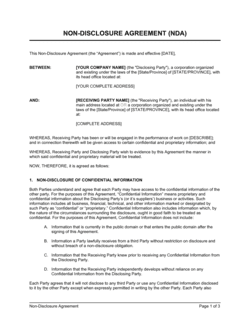
Add photography consent, confidentiality, or venue conduct language appropriate to the nature of the event. For events where proprietary information will be discussed, reference existing NDA obligations.
💡 Keep conditions of attendance to no more than three brief points — a long list of rules in an invitation creates a negative tone before the event has even occurred.
8
Obtain signatory approval and send
Route the completed invitation to the named signatory for review and approval before distribution. For physical invitations, ensure signatures are original; for digital, a scanned signature is acceptable.
💡 Send a test copy to yourself before the full distribution run to confirm formatting, links, and mail-merge fields all resolve correctly.