1
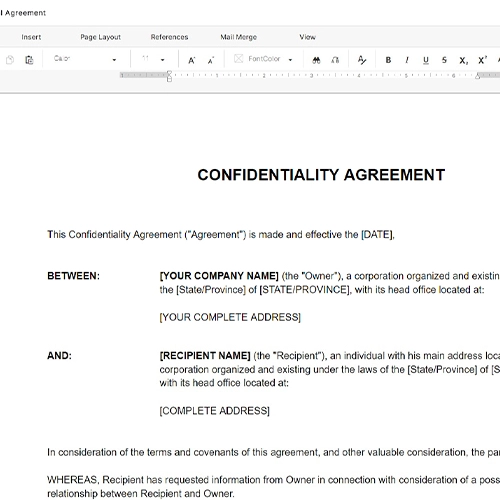
Enter legal entity names and the date
Use each party's full registered legal name — not a trade name or DBA. Confirm the debtor's entity name against the original credit application or business registration records.
💡 Pull the debtor's exact legal name from your original credit application or accounts receivable system before completing this section — a mismatch can invalidate enforcement.
2
Document the existing credit relationship and outstanding balance
State the current credit limit, payment terms in effect, and the precise outstanding balance with an aging breakdown — how much is current, 30, 60, and 90+ days past due.
💡 Attach a current account statement as an exhibit so the balance figure is supported by transaction-level detail, not just a summary assertion.
3
Define each restriction with specific numbers and dates
Replace vague language with concrete figures: new credit limit in dollars, new net terms in days, minimum payment required, and any cash-in-advance threshold. Each restriction should be testable — either the debtor is in compliance or they are not.
💡 Avoid 'reduced credit' or 'shorter terms' — write '$5,000 credit limit' and 'Net 10 from invoice date' so there is no ambiguity in enforcement.
4
Set the effective date and reinstatement conditions
Enter the specific date the restrictions take effect and describe the measurable conditions — balance reduction, consecutive on-time payments — under which the creditor would consider restoring prior terms.
💡 Give the debtor at least 3–5 business days between execution and the effective date to avoid claims that they were unable to comply.
5
Specify any collateral or security requirements
If requiring a personal guarantee, deposit, or security interest, name the guarantor, state the deposit amount, and reference the attached security document. File any UCC financing statement (or equivalent) promptly after execution.
💡 A personal guarantee is only as useful as your ability to locate and pursue the guarantor — confirm their address, employer, and assets before relying on this provision.
6
List default triggers and remedies precisely
Enter each event that constitutes a default — missed payment, exceeded credit limit, insolvency filing — and each remedy the creditor may exercise, including the late-fee rate and the acceleration trigger.
💡 Include an insolvency or bankruptcy filing as an automatic default event so you can move immediately to preserve security interests rather than waiting through a payment cycle.
7
Obtain signatures before the effective date
Both parties must sign before the restrictions take effect. Send the document by tracked email or certified mail and request a signed copy back. Store the fully executed version with your credit file for the account.
💡 If the debtor refuses to sign, proceed with sending the restriction notice anyway and document delivery — unsigned notice may still shift moral and practical burden, but a signed acknowledgment is far stronger in litigation.
8
Notify your operations and fulfillment teams
Once executed, immediately update your order management system, ERP, or accounts receivable platform with the new credit limit and terms so front-line staff do not extend credit beyond the restricted terms.
💡 A signed restriction agreement is worthless if your warehouse ships a $20,000 order the next day under the old terms — system updates must happen on the effective date.